I try and be environmentally conscious, so most things I bought second hand for the nursery. eBay and Marketplace are great places to look for pre-loved items. I also joined some Facebook groups, which focus on giving away free things in my local area. This saved us so much money and I have a better conscious, that we are keeping things out of landfills. I also collected most of the things from my town on my bike, so no extra carbon emission for transport. You would be surprised by the things I collected on two wheels: bags of clothes, a play rug, bouncer, walker, bathtub, bath seat and even a baby gate! 🙂 A good pannier rack can help to store smaller things and the bigger items I put in an IKEA bag on my handlebar. Alternatively, a kids bike trailer can be a good solution as well.
Of course, my desire to source items second hand limited us with our choices and it was also time-consuming to look for and collect the items I wanted/needed. Luckily I had the energy and time to do it, but I understand this might not be the case for everyone. While I encourage you to have a look in your area, what items you might be able to source second-hand, I am aware that this might not be your cup of tea. So I also include some baby room decorating ideas you can buy new online. Just click on the photo and it will take you to Amazon.
You will find baby room decor for different themes including:
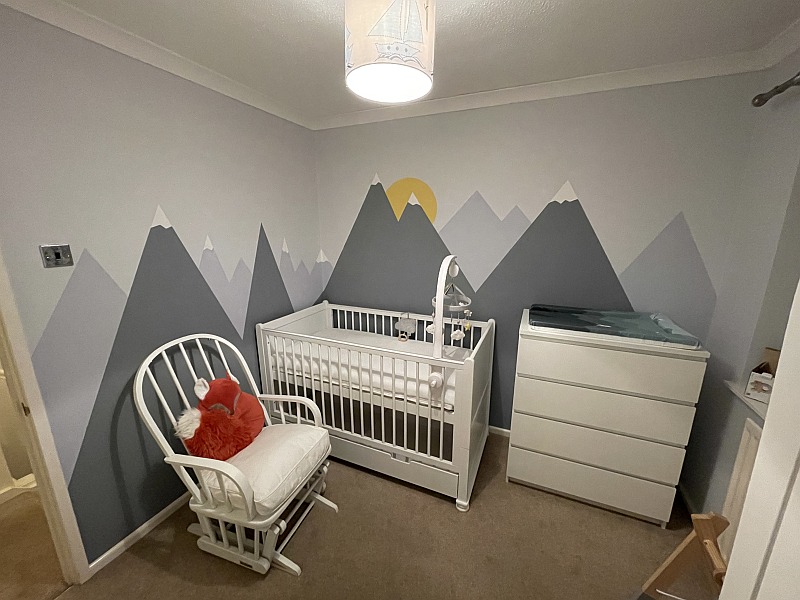
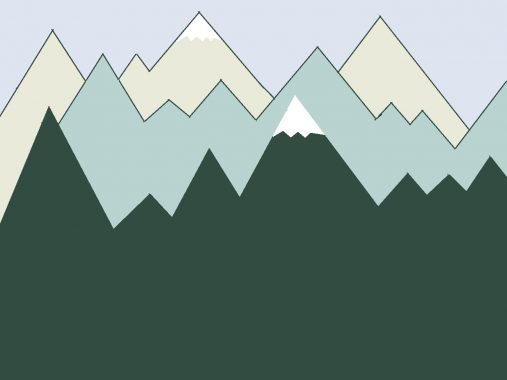
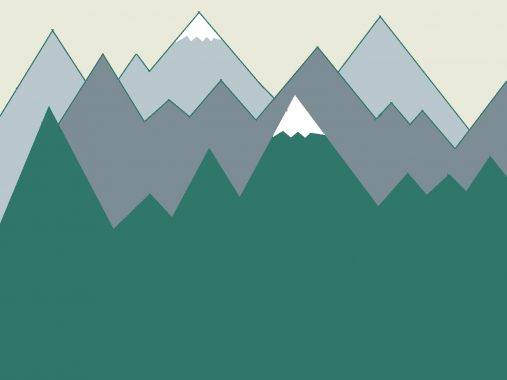
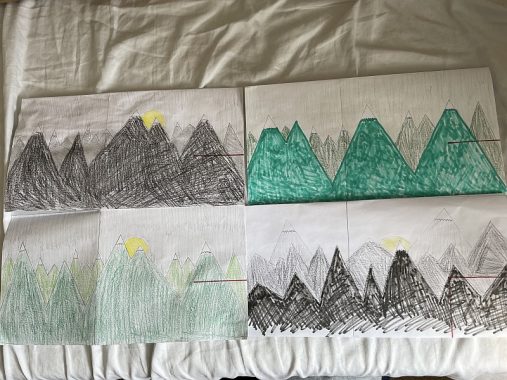
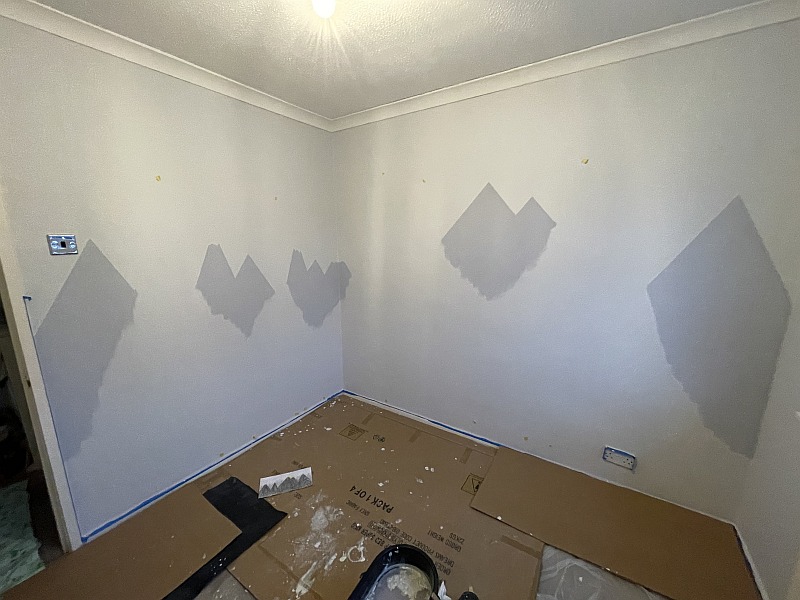
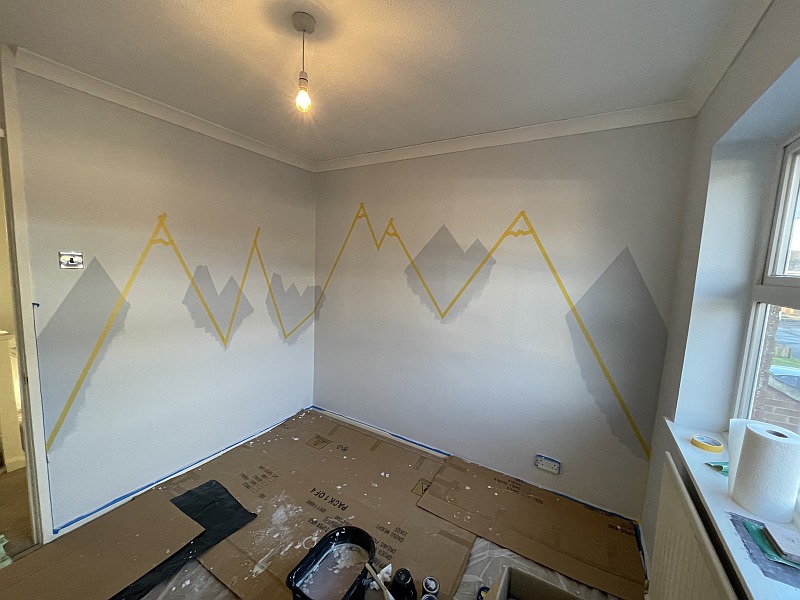
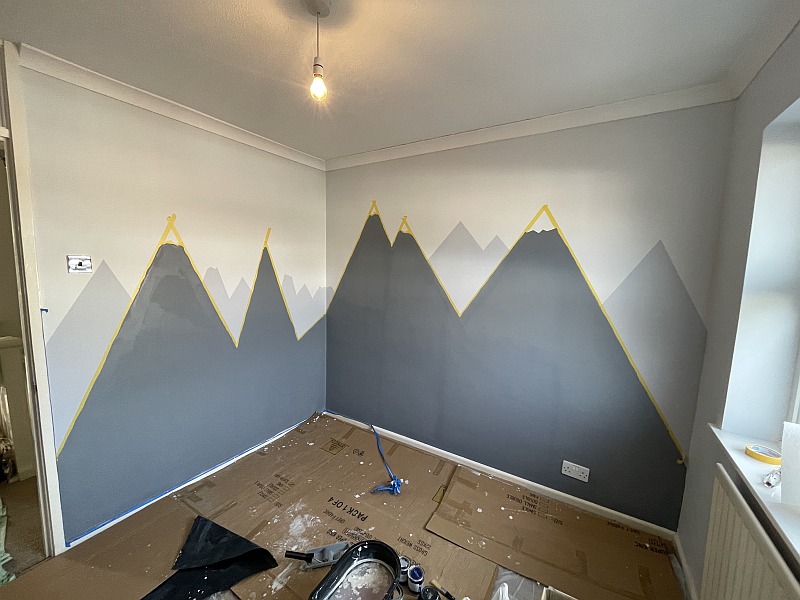
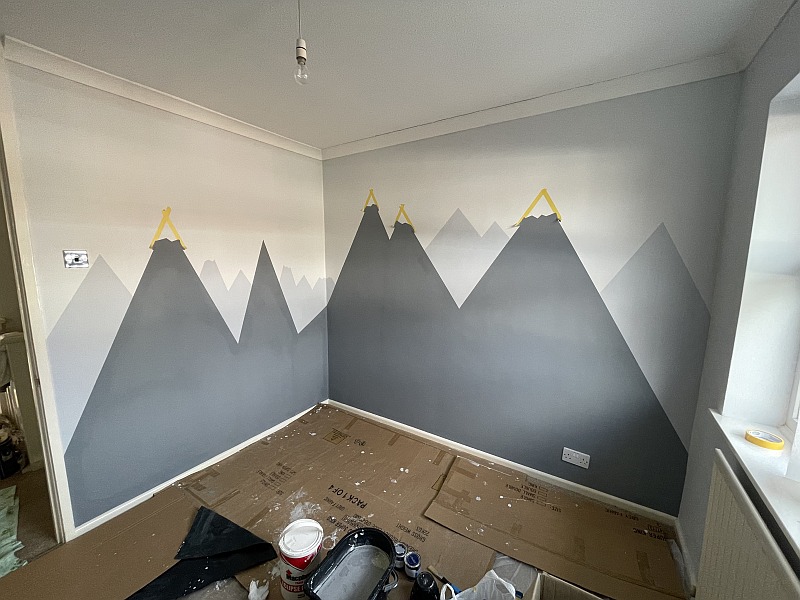
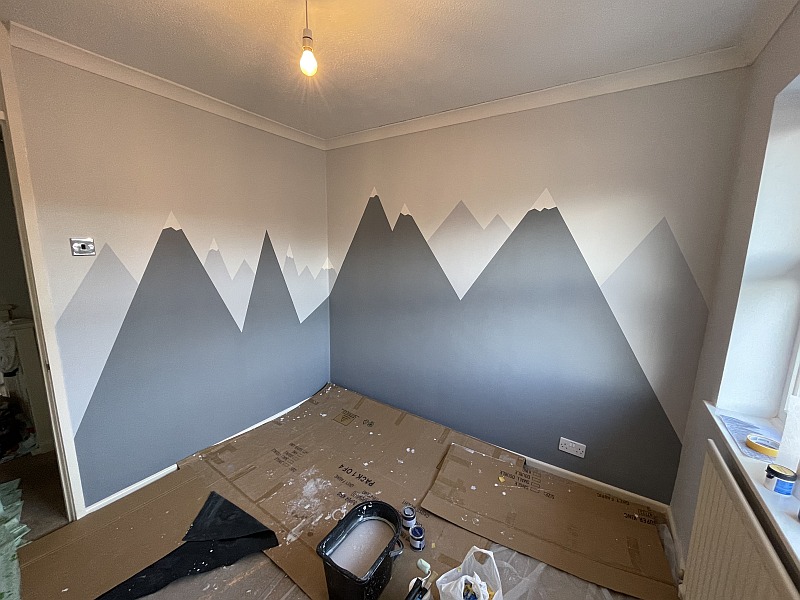
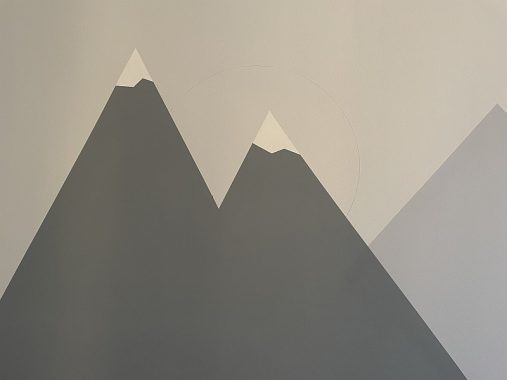
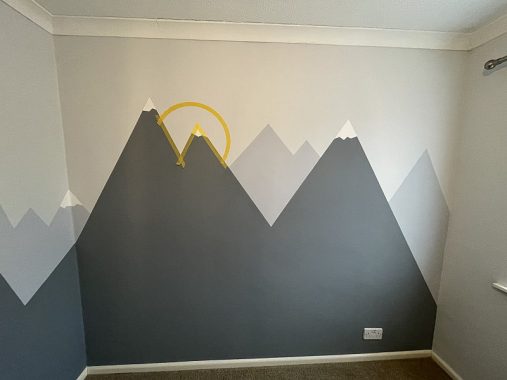
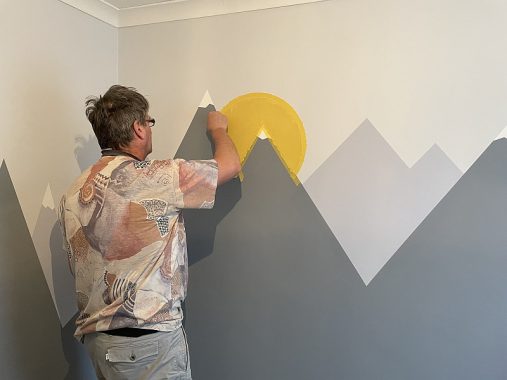
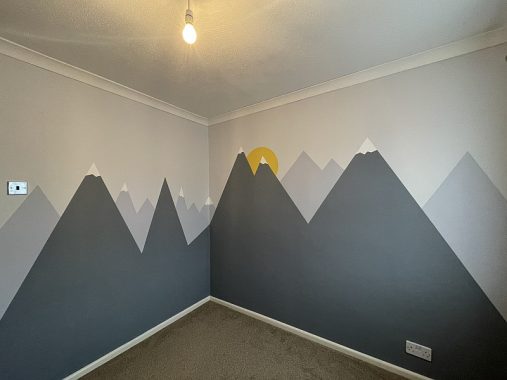
Mountain themed nursery
Woodland themed nursery
Sea theme nursery
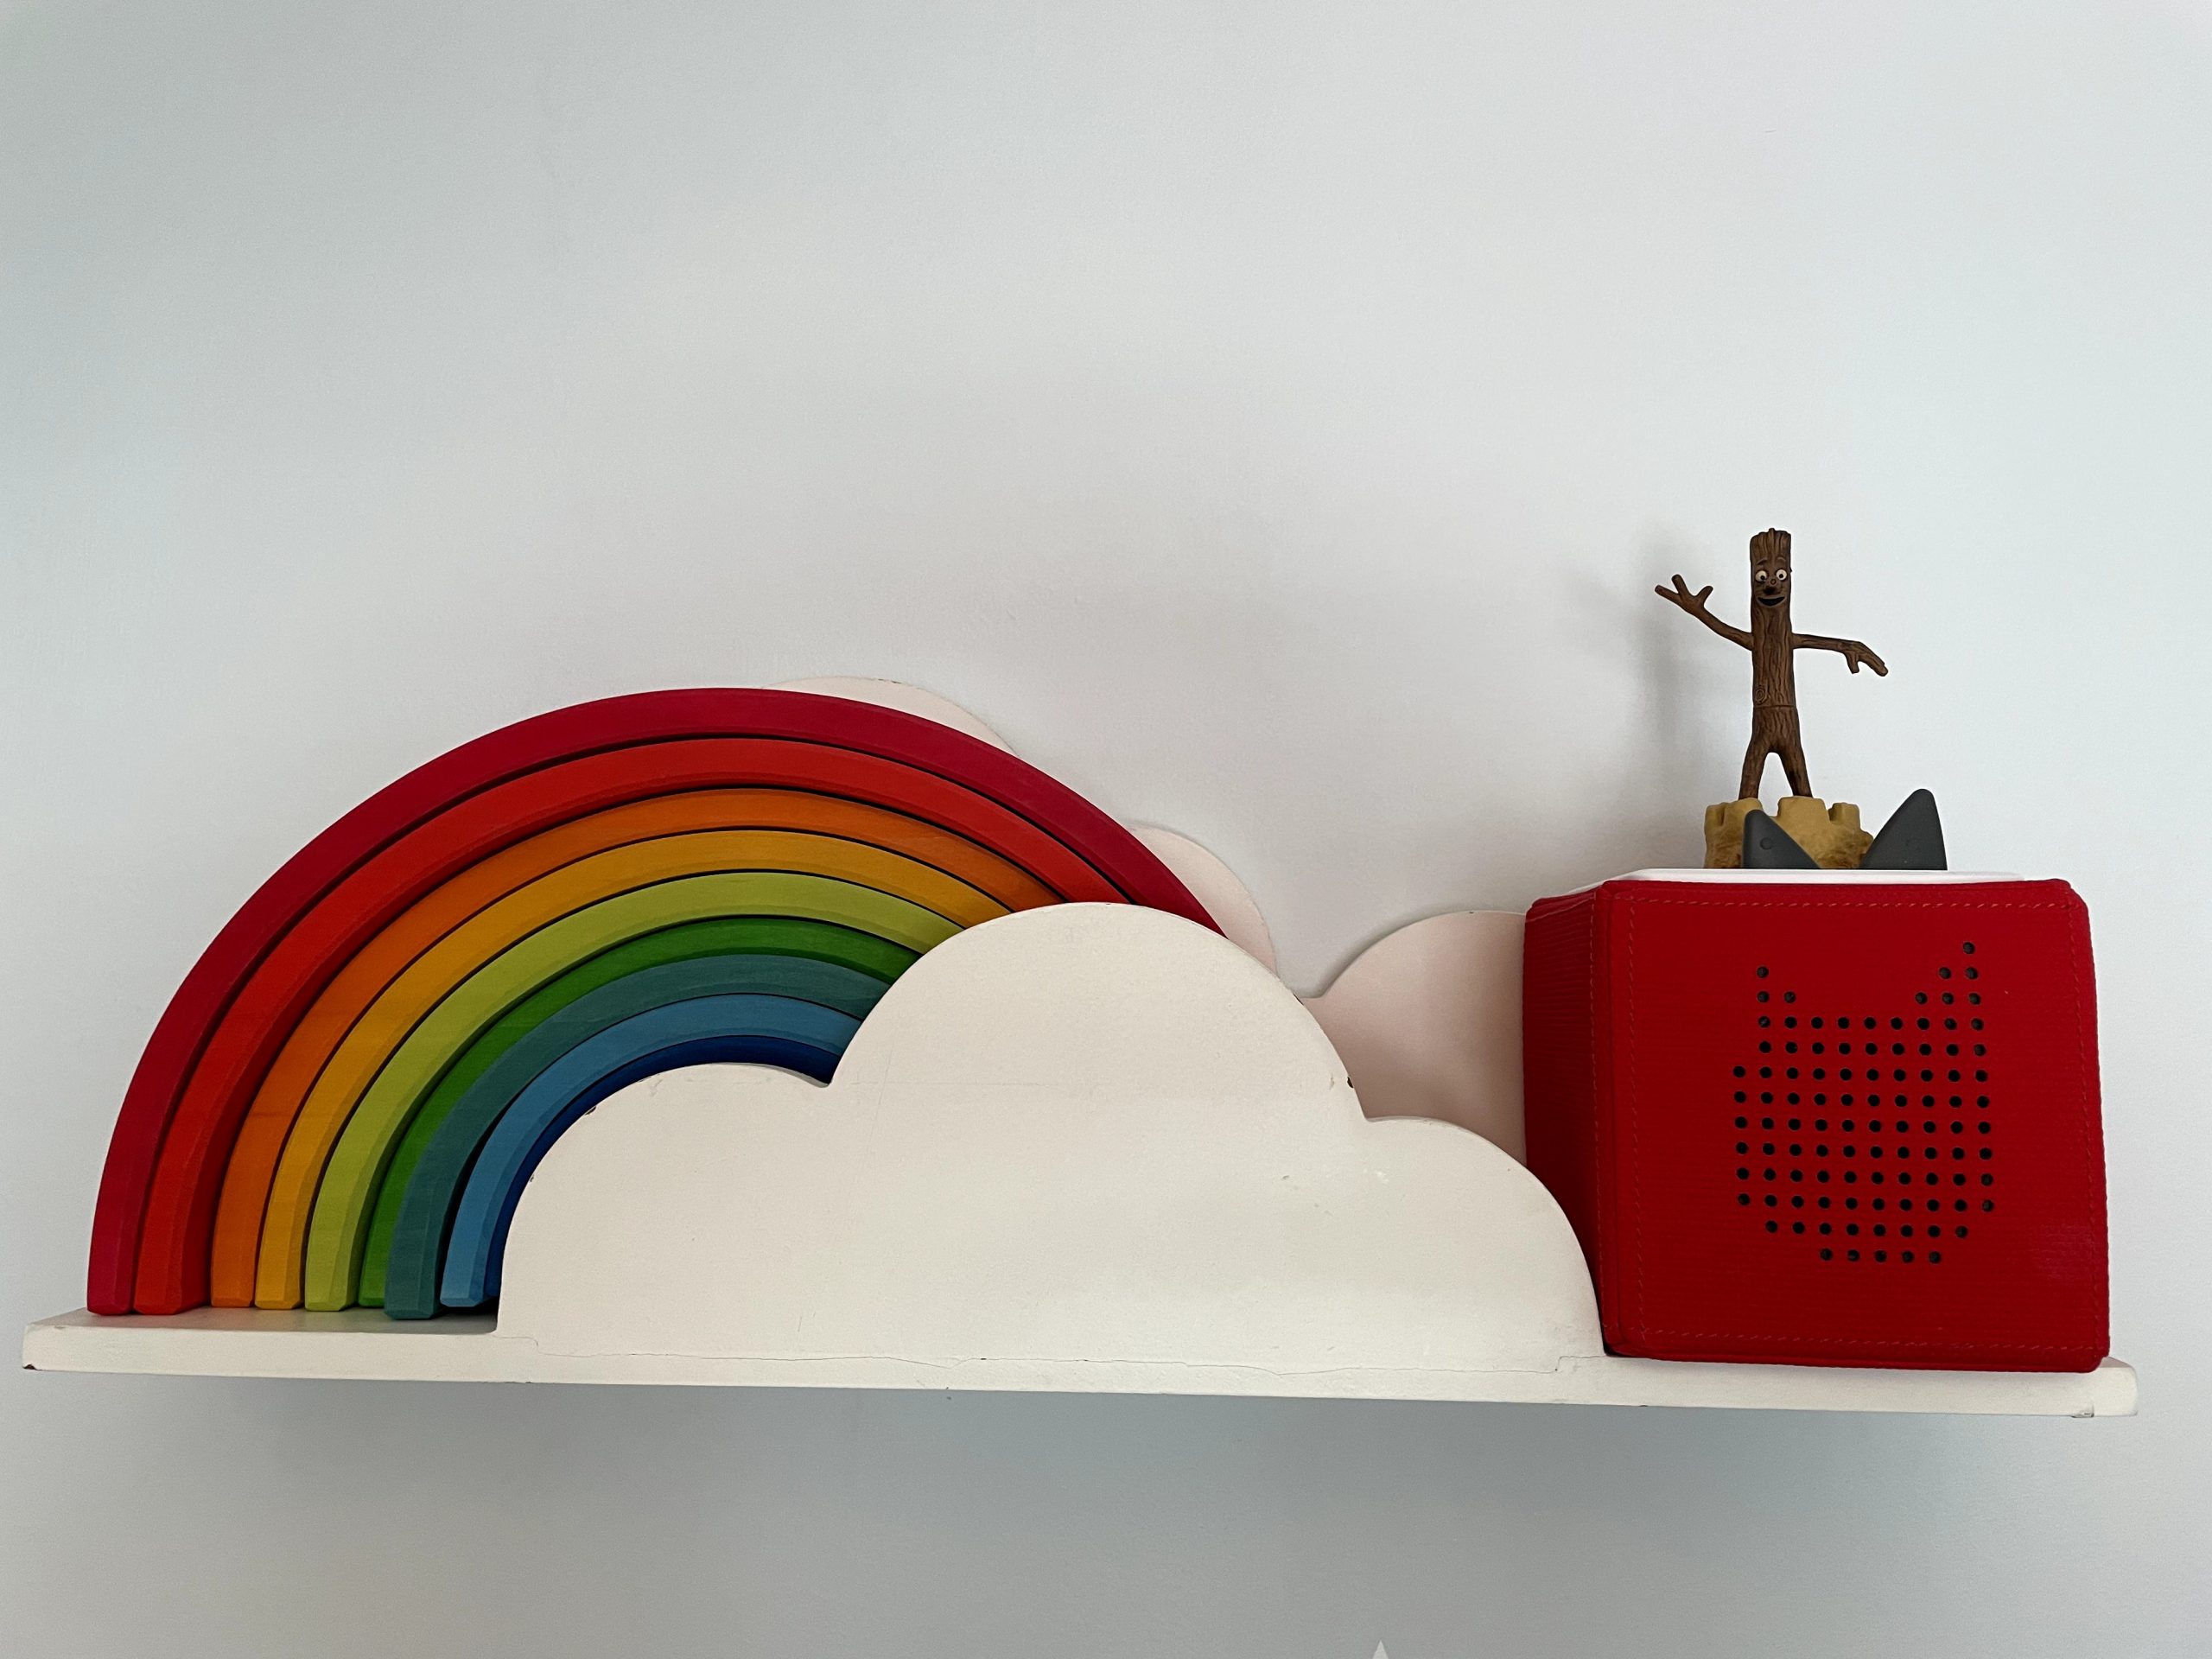
Cloud theme nursery
These all work together nicely. Some of the accessories we considered for our mountain theme nursery included: changing mat, cushion, crib mobile, play gym, rug, bookends, bookcase, laundry basket, storage baskets, lampshade, night light, hooks, hangers, mirror, garland, blanket, prints, shelves, curtain, blind, door/wardrobe knobs, doorstop, toddler chair.


Tips for camping while pregnant | Travel Hacker Girl
May 17, 2022 at 2:27 pm[…] love being outdoors and there is no better way to get close to nature than camping. We did a mountain theme nursery for our son, which shows how much we enjoy going on adventures. Luckily I discovered that I can […]
Toniebox Review: Hours Of Screen free Entertainment
June 7, 2023 at 9:36 am[…] will grow with him and he can use it for many years to come. It’s a great addition to our mountain theme nursery, but we of course also take it with us traveling and […]